


How to remove and prevent mold from walls before painting: the 3 essential steps
Revamping the look of your home with a new paint job can radically transform rooms, making them brighter and more welcoming. The choice of colors is crucial: light, neutral shades are ideal for rooms with colorful furnishings, while bolder color combinations can give a contemporary and original touch. However, before you start painting the walls, it is essential to assess the condition of the masonry and address any problems, such as the presence of mold.
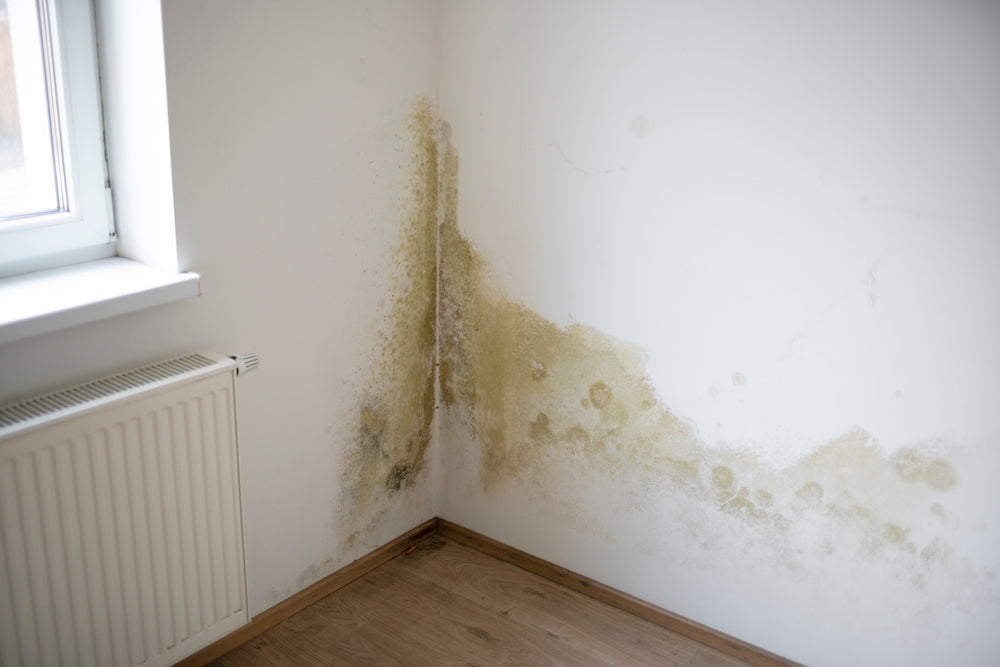
Whitterizing a pwall with macchia of mmold
The presence of mold is a problem that must be solved before any painting work is done, as "covering" the mold with paint, without removing or completely inactivating it, does not prevent mold from proliferating in the deeper layers of the wall. For long-lasting results, a complete professional masonry restoration treatment should be carried out.
Trattamento professionale completo per la rimozione della muffa
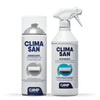
Combination Camp treatment is an effective solution to remove mold, restore surfaces, and prevent reappearance over time. Follow these steps for optimal results.

1. Removal of stains and blackening
- Preparation: do not remove mold that is already present, so as not to promote the dispersion of spores into the environment.
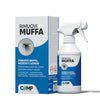
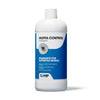
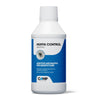
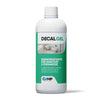
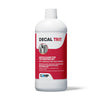
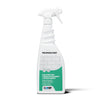
- Application of Mural Restore: apply Mildew Control Restore with a roller or brush to the affected surface. Due to its special formulation and biocidal action, the product penetrates deeply into the surface, inactivates existing infestations and preserves masonry from the formation and proliferation of new mold for a long time.
- Carpeting and cleaning: After about 48 hours, clean and sand the wall surface to remove stains and mold residues that are now inert.

2. Wall preparation
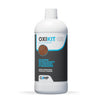
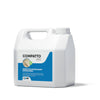
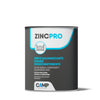
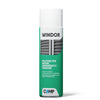
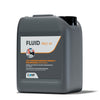
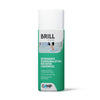
- Application of fixative: on dry walls, apply fixative Muffa Control Fixative. This product not only improves the anchorage of the paint, but also contains special additives that preserve the primer from the growth of mold and microorganisms, ensuring total protection of the treated substrates.
3. Painting and protection
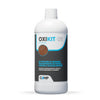
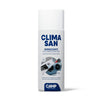
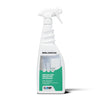
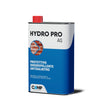
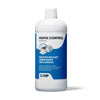
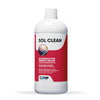
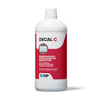
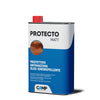
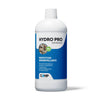
- Add Biocidal Additive: add Mold Control Additive to the chosen paint to give the finish high resistance to mold attack due to its biocidal action. After painting and allowing the surface to dry, reapply the wall restorer Mold Control Resanante. This final step allows the masonry to be protected from condensation mold growth and is especially useful in wetter environments.
With these simple but effective steps, you can preserve masonry from mold and achieve a long-lasting, flawless paint job. Dealing with mold properly not only improves the aesthetic appearance of your home, but also helps create a healthier and safer environment for you and your family.
Resolve the mold problem once and for all with Camp!
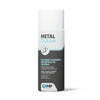
[product=mold-control-healing-treatment-antimold-healing]
Resolves masonry by inactivating existing mold and preventing its reappearance
Acts against mold and other microorganisms
Effective and long-lasting anti-mold power
[/product]
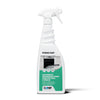
[product=mold-control-fixing-isolating-primer-100-acrylic-anti-mold]
Active prevention against mold
Greater penetration and consolidating power
Improves anchorage, yield and resistance of subsequent treatments
[/product]
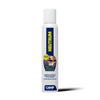
[product=mold-control-additive-anti-mold-concentrate-for-hydropainting]
Preserves the paint layer from mold formation and proliferation
Ideal for paints used on walls subject to condensation and moisture
Mold-concentrate formula
[/product]
