


Removal, prevention and protection: a practical guide against mould on exterior surfaces
The winter season brings with it a number of challenges for our homes: façades, cladding and external floors can show blackening and aesthetic defects caused by mould, mosses and lichens.
Adverse weather events, excessive humidity and northern exposure of surfaces are an ideal mix for the proliferation of mould on porous natural stone, plaster, terracotta and concrete bricks.
In this practical guide, we will discover how to effectively perform the anti-mould cycle after the winter season, to restore and renew exterior surfaces, focusing on removal, restoration and protection.

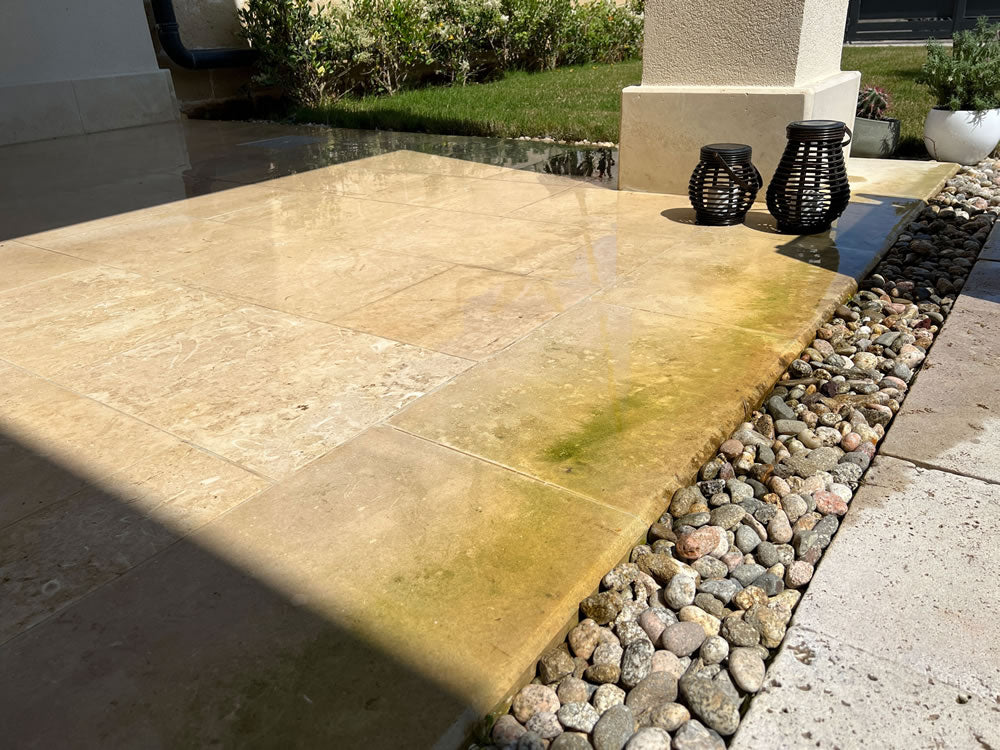
Before treatment
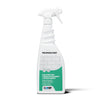
Step 1: Mould Removal
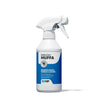
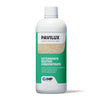
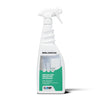
The first action to be taken is the removal of mould already present. For this, the product Mould Remover proves to be the perfect solution. Follow these simple instructions:
- Be sure to protect sensitive objects and surfaces such as metals, outdoor furniture and plants.
- Wear the gloves provided and suitable protective clothing.
- Spray Mould Remover directly onto the affected surface.
- Let the product act for 15 minutes.
- Using a damp cloth or sponge, wipe the treated area to remove the mould.
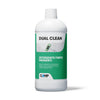
Step 2: Restoration of substrate and prevention of mould reappearance
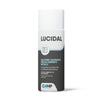
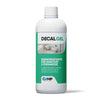
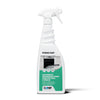
Once the mould has been removed, it is essential to take preventive measures to prevent the problem from reoccurring. For this purpose, the product Mould Control Resanante is formulated to prevent mould growth on various surfaces. Follow these simple steps:
- Make sure the surface to be treated is clean and dry.
- Apply Mould Control Remediant evenly to the affected surface with a brush, roller or low-pressure sprayer.
- Let the product dry without rinsing.
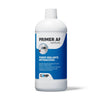
Step 3: Surface Protection with Hydro Pro ECO
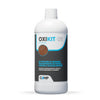
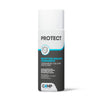
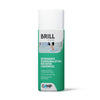
In addition to direct mould prevention, it is important to protect surfaces from weathering. The use of the water-repellent treatment Hydro Pro ECO creates an invisible, long-lasting protective barrier that preserves materials from water, moisture and frost. Follow these directions:
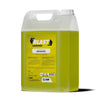
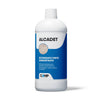
- Make sure the surface to be protected is perfectly clean and dry (for thorough cleaning we recommend ALCADET strong cleaner)
- Apply Hydro Pro ECO with a brush or roller to the desired surface.
- Let the surface dry and wait about 6 hours before stepping on it.

After treatment
Moulds, mosses and lichens can be a significant problem after the winter season, causing damage to our homes and threatening our health.
With this practical guide and the combined professional treatment Mould Remover, Mould Control Remediator and Hydro Pro ECO, you will be able to effectively eliminate mould and protect the exterior surfaces of your home from the effects of weathering.
Not only will you keep your home safe, but you will enjoy a healthier and cosier environment for the whole family.